New Application Categorization
New Application Categorization Screen
The all new application categorization screen allows you to view both categorized and uncategorized applications in a single window for better insight when managing your application discovery and categorization.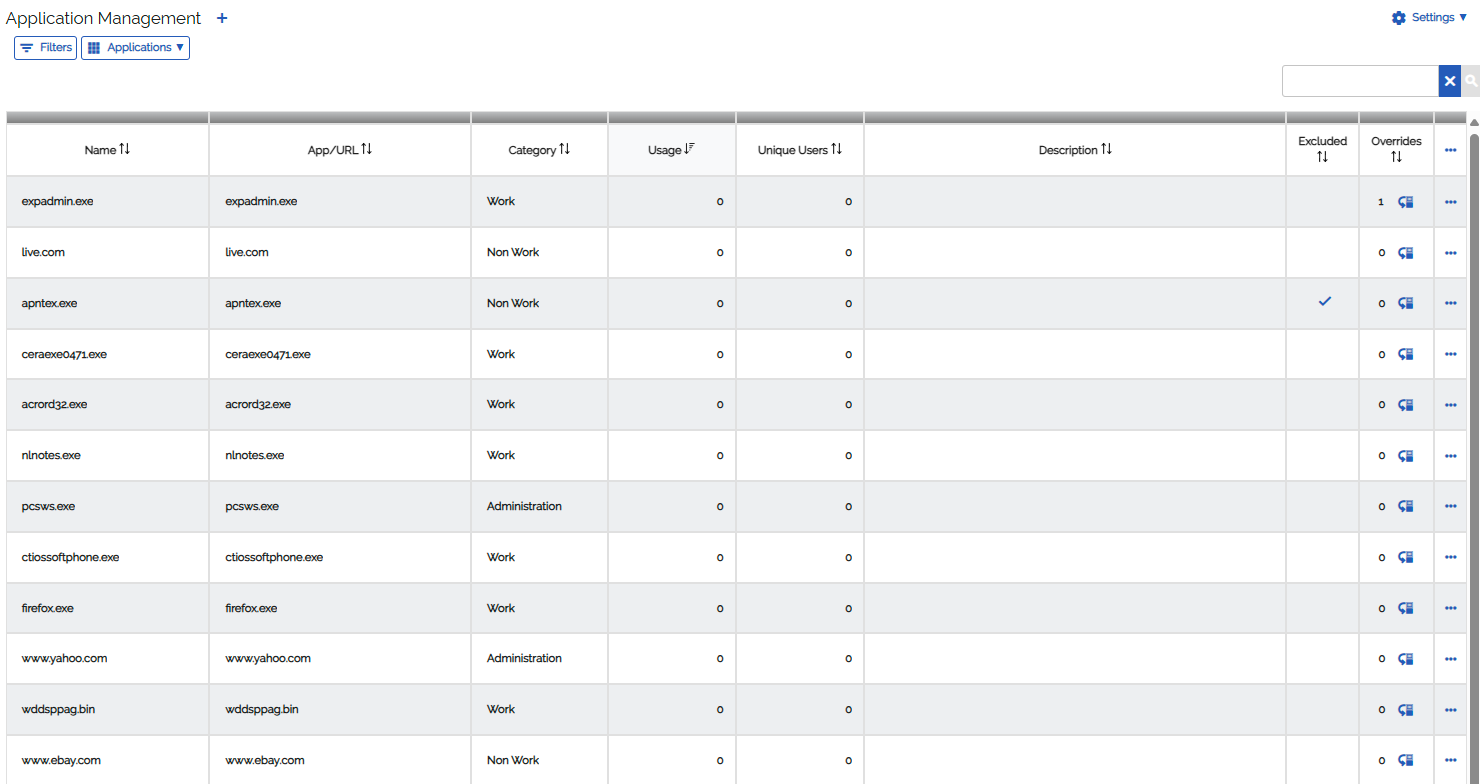
Filter
The filter option with the new screen allows you to filter by existing categorizes or by All, categorized or uncategorized application
When selecting these option the screen will automatically refresh the results.
To clear these filters click the X in the top right corner of the filter panel

Create New Application
To create a new application click the + towards the top left of the screen and a pop up will appear.
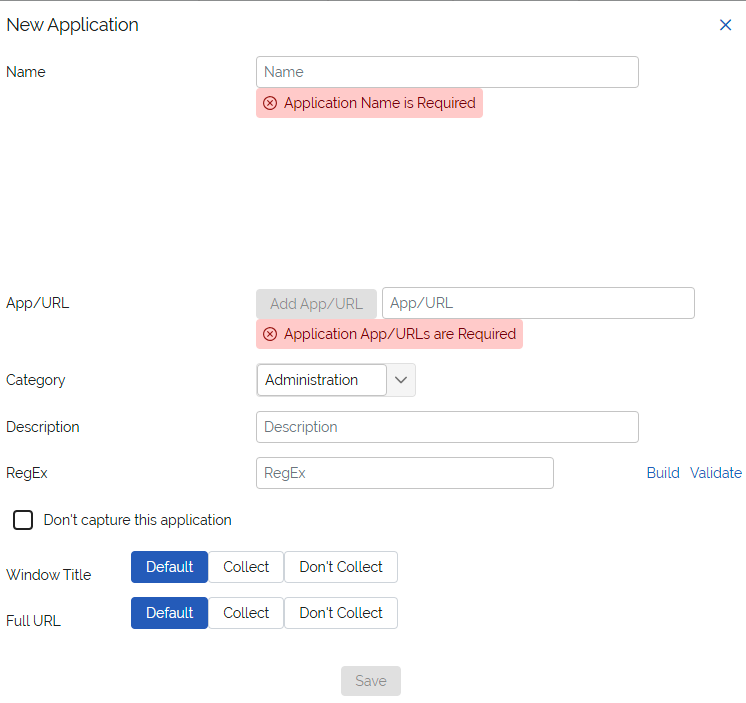
Add a name for your application, this can be exactly the same as the app/url name but can be used descriptively for reference
The APP/URL name needs to be entered exactly as it is seen - for instance word.exe or facebook.com
Select the category the app belongs to and add a description
RegEx can be ignored as this only really needs to be entered for specific scenerios by advanced users
There is an option to ignore the application
Toggle depth of data capture for window title and Full URL: these toggles can either follow the default global setting or be set dependently and override the default settings.
* By capturing Window Title and Full URL date there is the potential to capture potentially sensitive data.
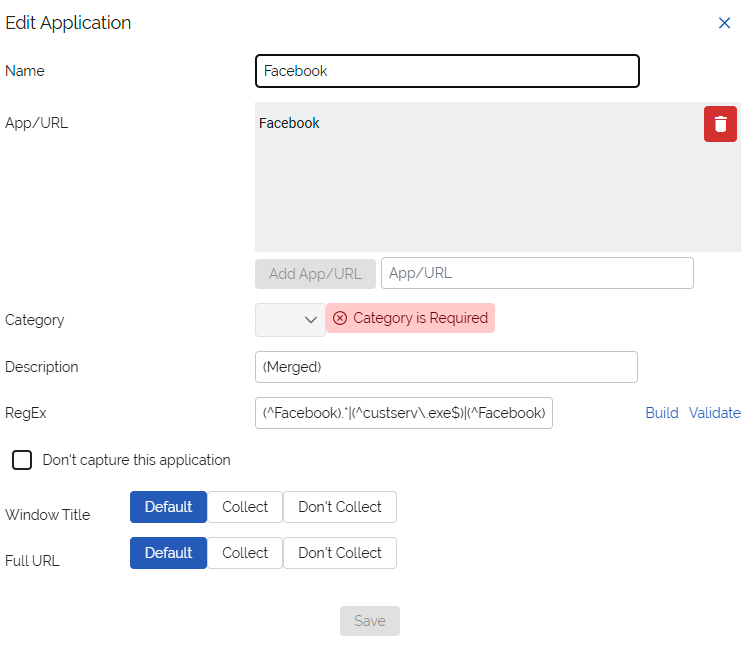
Edit Application
To edit an application click the three ... on the right hand side of the application row and click edit
Make any amendments needed and then click save to confirm changes
Override Category by Workgroup
The override category by workgroup is a helpful tool where some applications for the average user are categorized to a category but for some workgroups the App could be a categorized uniquely for that workgroup.
To override an application, first find the application within the list and then click on the icon within the overrides column, a pop up will then appear.
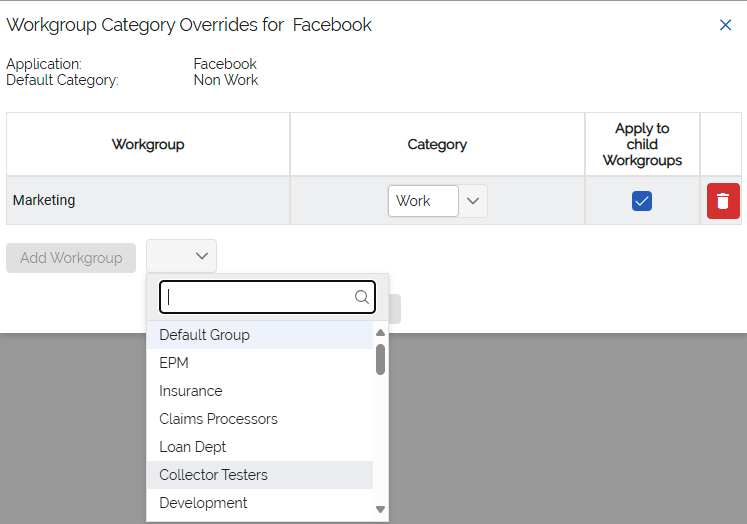
Select the Workgroup
Click Add Workgroup
Select the category you want to category you want to assign to workgroup
There is then an option to apply or not apply the category to the child workgroups
Click save and the override has been confirmed
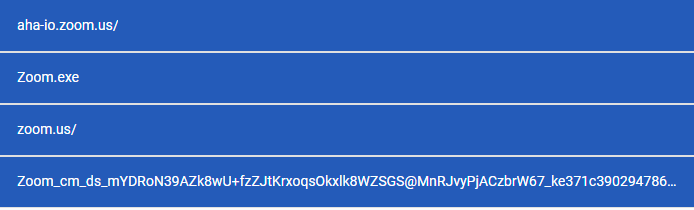
Merge Applications
There are scenario with applications that can create multiple rows of apps and URLs because the name of the app maybe different. This can create a number of entries that take time to categorize, to avoid this multiple apps can be selected
Click on applications towards the top left of the screen

And click Merge Applications
A pop up will appear and a list of the selected apps will be listed, from here select the app you would like to have as the target application and click Merge. the screen will refresh and the apps are now all under one row.
Import Applications
If you have a list of applications you need to add to WorkiQ this can be done through the import tool uploading a CSV document, an easy way to format this correctly is to download the export applications CSV and then populate it and upload it into WorkiQ
Export Applications
Export your applications as a CSV using the export tool
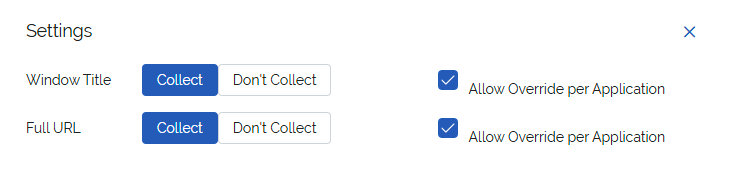
Global Applications Settings
In the global settings area you can select a default settings for your apps to collect window title or full URL data with the option of allowing the apps to be independently set or not depending of a companies preference for data capture
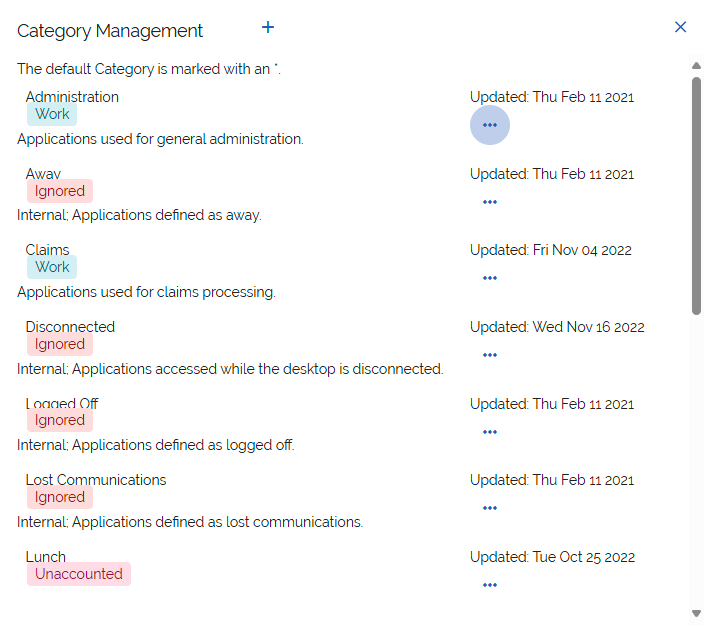
Category Management
In the category management pop up you can create, edit or remove categorizes. All categories can be assigned to Work, Non-Work, Unaccounted or ignored.
Custom Application Fields
The new custom field for application feature allows you to create custom fields that are used with applications in mind. An example of this could where you want to know how many license an application might have been purchased and you want to track the monthly usage of the apps by your team against the total number that have been purchased.
Click the settings in the top right hand side
Click custom application fields in the dropdown menu
A list of current application custom fields will be displayed
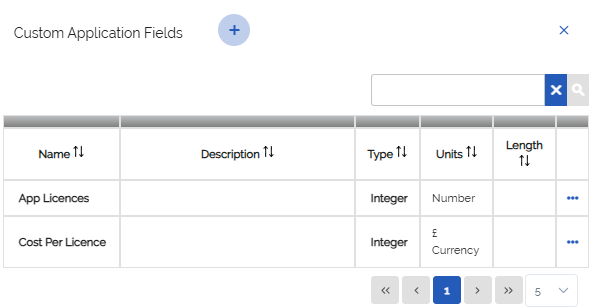
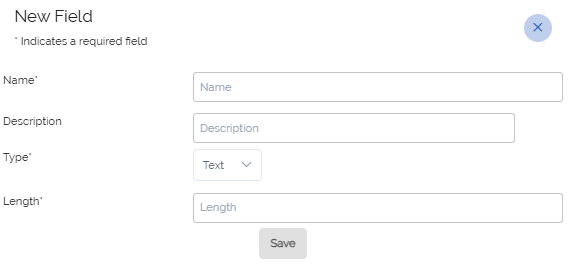
Click the + button at the top of the pop-up
Add a name and description for your application custom field
Select the type of custom field you want to create
Create New Application Custom Field